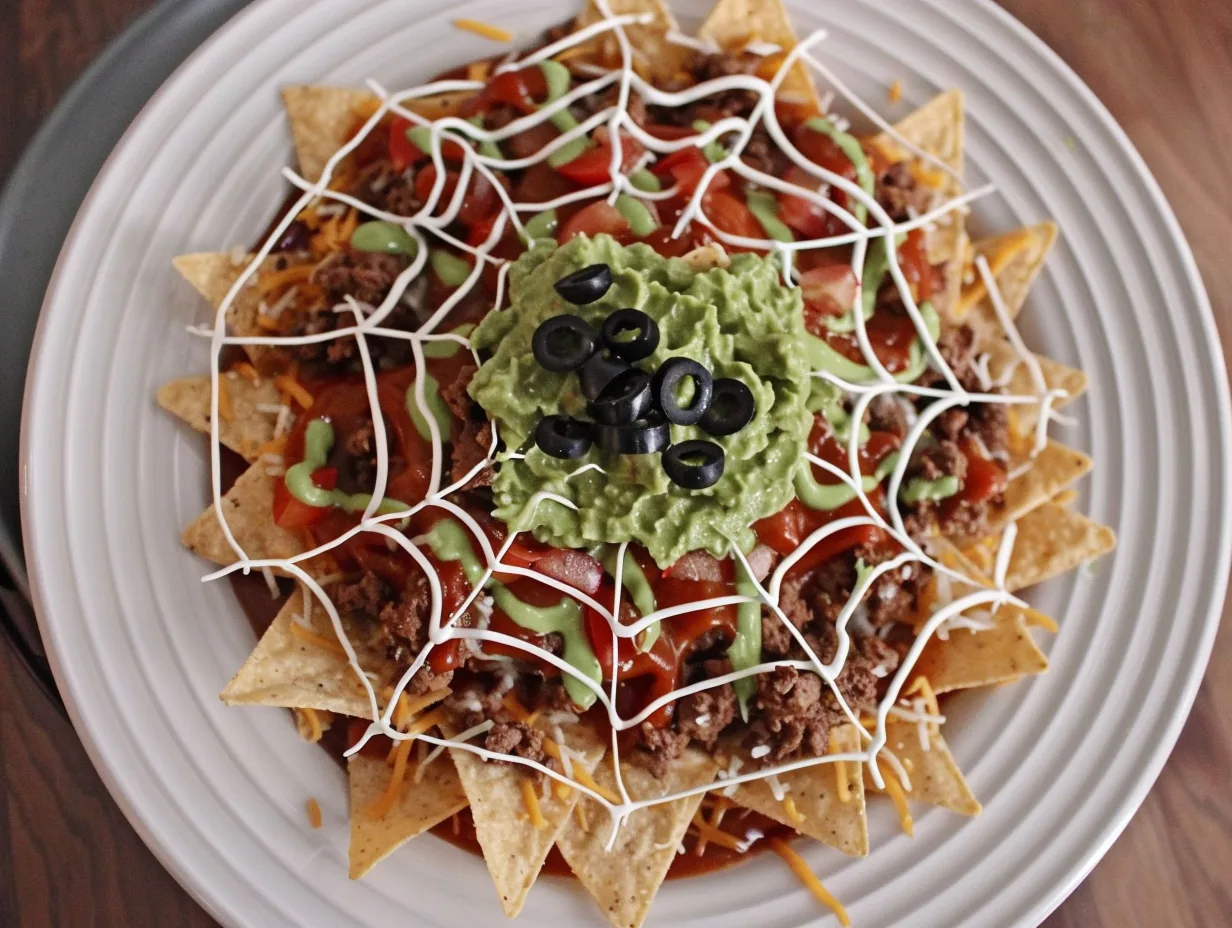
As Halloween approaches, it’s time to get creative in the kitchen with treats that are both fun and delicious. One of the most exciting recipes that you can whip up this spooky season is Zombie Cookies. These delightful cookies are not only visually appealing but also offer a unique twist on traditional cookie recipes. With their vibrant colors and fun decorations, Zombie Cookies are sure to be a hit at any Halloween gathering!
Ingredients List
To create these eerie delights, you’ll need the following ingredients:
- 2 ½ cups all-purpose flour
- 1 tsp baking soda
- ½ tsp salt
- 1 cup unsalted butter, softened
- 1 cup granulated sugar
- 1 cup brown sugar, packed
- 2 large eggs
- 2 tsp vanilla extract
- 1 ½ cups chocolate chips
- Green and purple food coloring
- Edible glitter (optional)
These ingredients will help you create the perfect base for your Zombie Cookies, which can then be decorated to bring the spooky theme to life.
Timing
Preparing Zombie Cookies is not only fun but also quick! Here’s a breakdown of the timing:
- Preparation time: 15 minutes
- Baking time: 10-12 minutes
- Cooling time: 10 minutes
In total, you can have these cookies ready in under an hour, making them a fantastic last-minute treat for your Halloween festivities!
Step-by-Step Instructions
- Preheat your oven to 350°F (175°C) and line a baking sheet with parchment paper.
- In a bowl, whisk together the flour, baking soda, and salt. Set aside.
- In a large mixing bowl, cream the softened butter, granulated sugar, and brown sugar until light and fluffy.
- Add the eggs one at a time, mixing well after each addition, then stir in the vanilla extract.
- Gradually add the dry ingredients to the wet mixture and mix until just combined.
- Divide the dough into two bowls. In one bowl, add green food coloring and mix until you achieve your desired shade. In the other, add purple food coloring.
- Fold in the chocolate chips into both colored doughs.
- Using a tablespoon, scoop out portions of the green dough and place them on the baking sheet. Repeat with the purple dough, placing them close together.
- Bake for 10-12 minutes or until the edges are golden brown. Remove from the oven and let them cool on the baking sheet for 10 minutes before transferring to a wire rack.
- If desired, sprinkle with edible glitter for an extra spooky effect!
Nutritional Information
While indulging in treats like Zombie Cookies, it’s essential to be mindful of nutritional content. Here’s an approximate breakdown per cookie (based on 24 cookies):
- Calories: 150
- Protein: 2g
- Fat: 7g
- Carbohydrates: 20g
- Sugar: 10g
Enjoy these cookies in moderation as part of a balanced diet!
Healthier Alternatives for the Recipe
If you’re looking to make your Zombie Cookies a bit healthier, consider these alternatives:
- Use whole wheat flour instead of all-purpose flour for added fiber.
- Substitute coconut oil or applesauce for butter to reduce saturated fat.
- Replace granulated sugar with coconut sugar or a sugar substitute.
- Add nuts or dried fruits for extra nutrients and flavor.
Serving Suggestions
Zombie Cookies can be served in various fun ways:
- Arrange them on a spooky-themed platter with Halloween decorations.
- Pair with a glass of milk or a spooky punch for added flair.
- Use them as party favors by wrapping them in clear bags and tying them with Halloween-themed ribbons.
Common Mistakes to Avoid
To ensure your Zombie Cookies turn out perfectly, keep these common mistakes in mind:
- Don’t overmix the dough; it can lead to tough cookies.
- Make sure to measure your ingredients accurately for the best results.
- Allowing the cookies to cool completely on the baking sheet can lead to overbaking.
Storing Tips for the Recipe
To keep your Zombie Cookies fresh and delicious:
- Store them in an airtight container at room temperature for up to a week.
- For longer storage, freeze the cookies in a single layer and then transfer them to a freezer-safe bag for up to three months.
Conclusion
Zombie Cookies are a fantastic way to bring some fun and creativity into your Halloween celebrations. With their vibrant colors and delicious taste, they are perfect for parties, gatherings, or just as a spooky treat for yourself! Whether you stick to the classic recipe or try some healthier alternatives, these cookies are sure to impress. Don’t forget to check out more delicious variations of Zombie Cookies to keep the spooky spirit alive!
FAQs
Can I make Zombie Cookies ahead of time?
Yes, you can prepare the dough a day in advance and refrigerate it. Just let it sit at room temperature for a few minutes before baking.
Can I use different colors for the cookies?
Absolutely! Feel free to get creative with your food coloring choices to match your Halloween theme.
Are Zombie Cookies suitable for gluten-free diets?
Yes, you can substitute the all-purpose flour with a gluten-free flour blend to make these cookies gluten-free.

Zombie Cookies: Discover Their Spooky Appeal Today!
Ingredients
- 2 ½ cups all-purpose flour
- 1 tsp baking soda
- ½ tsp salt
- 1 cup unsalted butter softened
- 1 cup granulated sugar
- 1 cup brown sugar packed
- 2 large eggs
- 2 tsp vanilla extract
- 1 ½ cups chocolate chips
- Green and purple food coloring
- Edible glitter optional
- These ingredients will help you create the perfect base for your Zombie Cookies which can then be decorated to bring the spooky theme to life.
Instructions
- Preheat your oven to 350°F (175°C) and line a baking sheet with parchment paper.
- In a bowl, whisk together the flour, baking soda, and salt. Set aside.
- In a large mixing bowl, cream the softened butter, granulated sugar, and brown sugar until light and fluffy.
- Add the eggs one at a time, mixing well after each addition, then stir in the vanilla extract.
- Gradually add the dry ingredients to the wet mixture and mix until just combined.
- Divide the dough into two bowls. In one bowl, add green food coloring and mix until you achieve your desired shade. In the other, add purple food coloring.
- Fold in the chocolate chips into both colored doughs.
- Using a tablespoon, scoop out portions of the green dough and place them on the baking sheet. Repeat with the purple dough, placing them close together.
- Bake for 10-12 minutes or until the edges are golden brown. Remove from the oven and let them cool on the baking sheet for 10 minutes before transferring to a wire rack.
- If desired, sprinkle with edible glitter for an extra spooky effect!
")